Step by step: How to change a tyre and inner tube
Every cyclist should know how to change a tyre.
This means you can also quickly replace the inner tube in the event of a puncture.
We'll show you what’s important.
Tools
You need
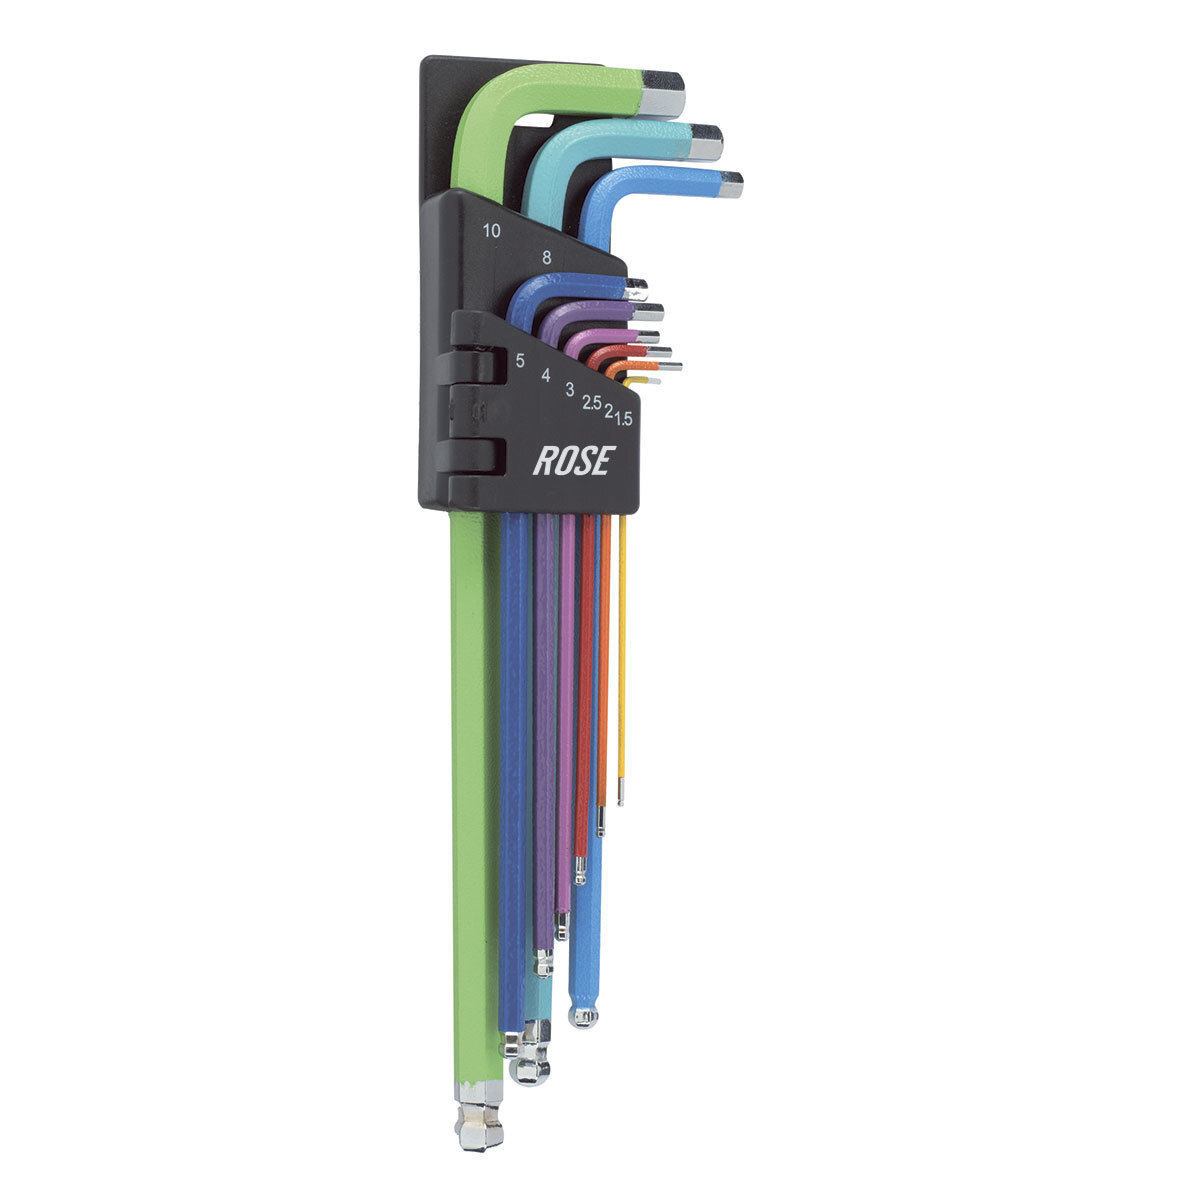
- 6 mm hex wrench
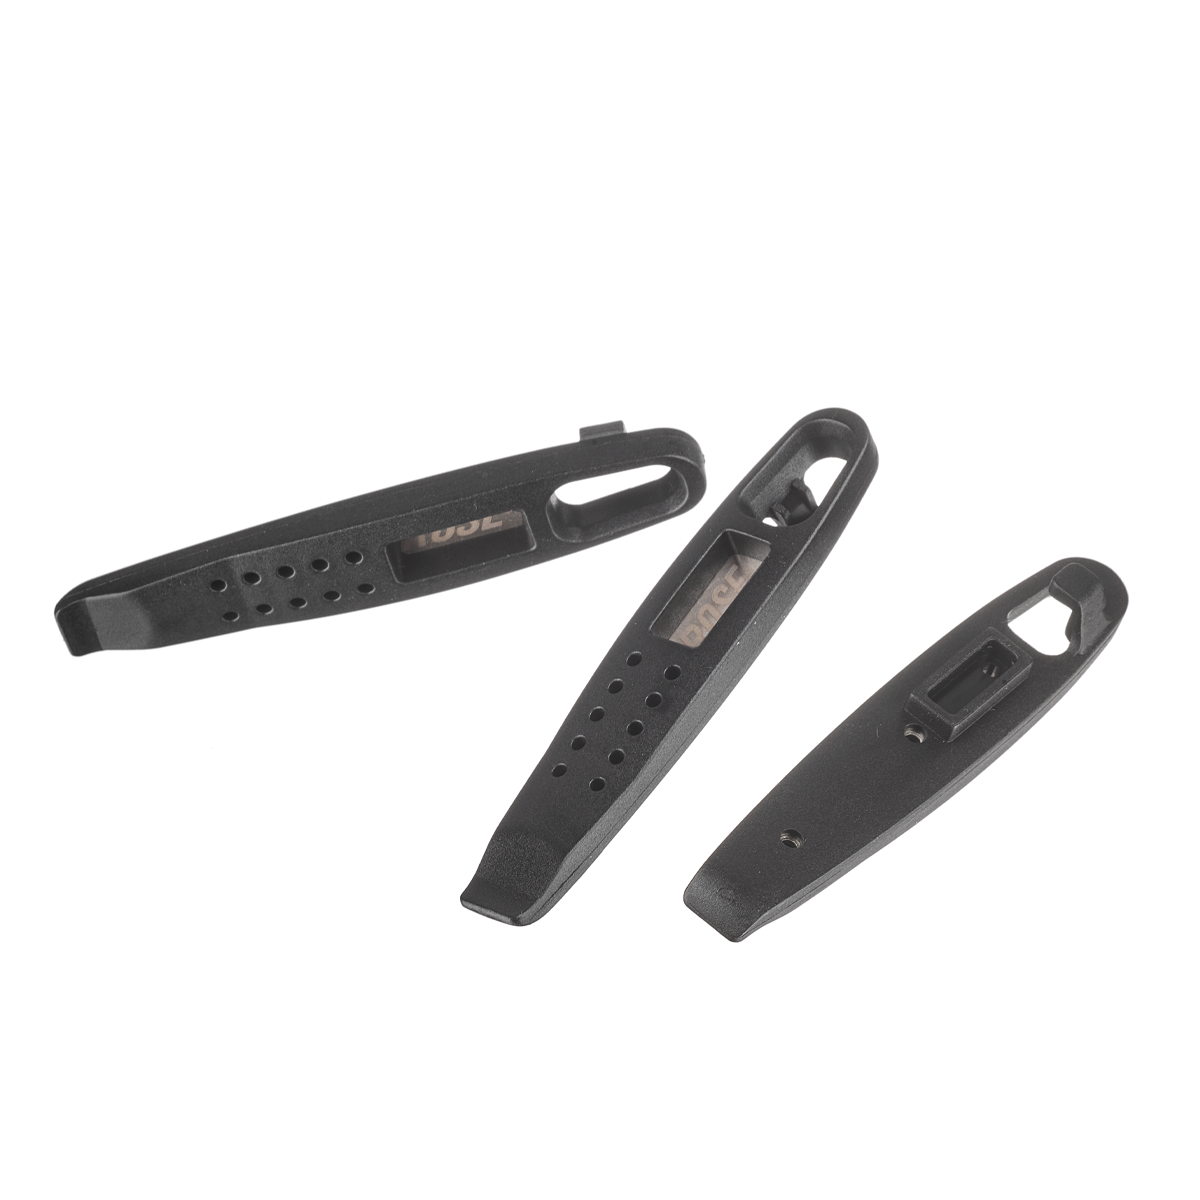
- Tyre Lever
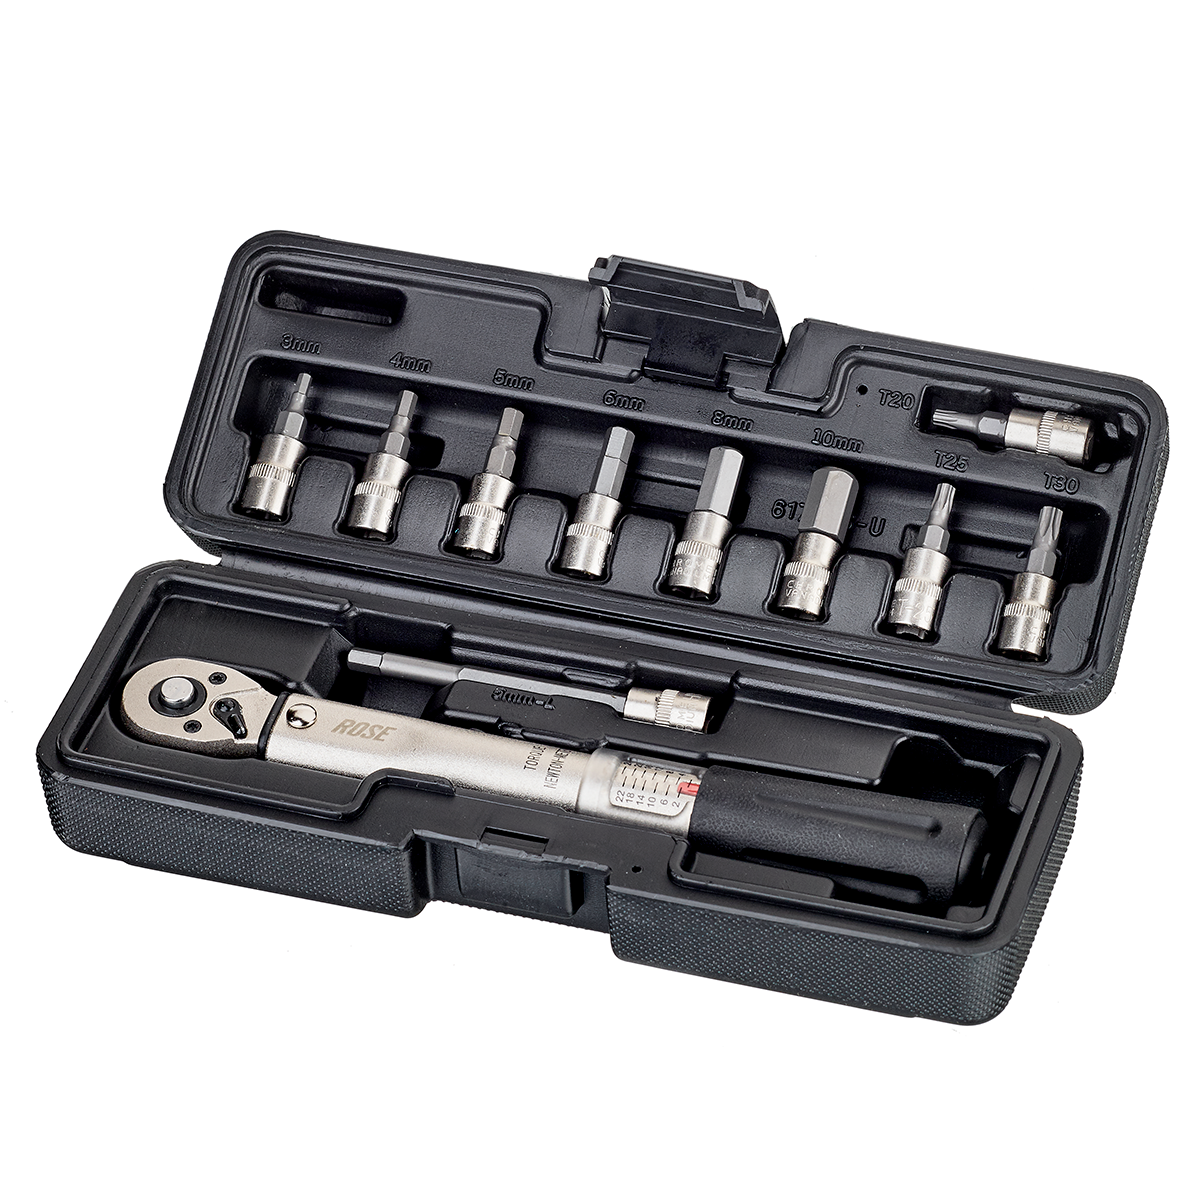
- a torque wrench
- 6 mm hex bit
- Bike pump
- Workstand (optional)
)
Step 1: Removing the wheel
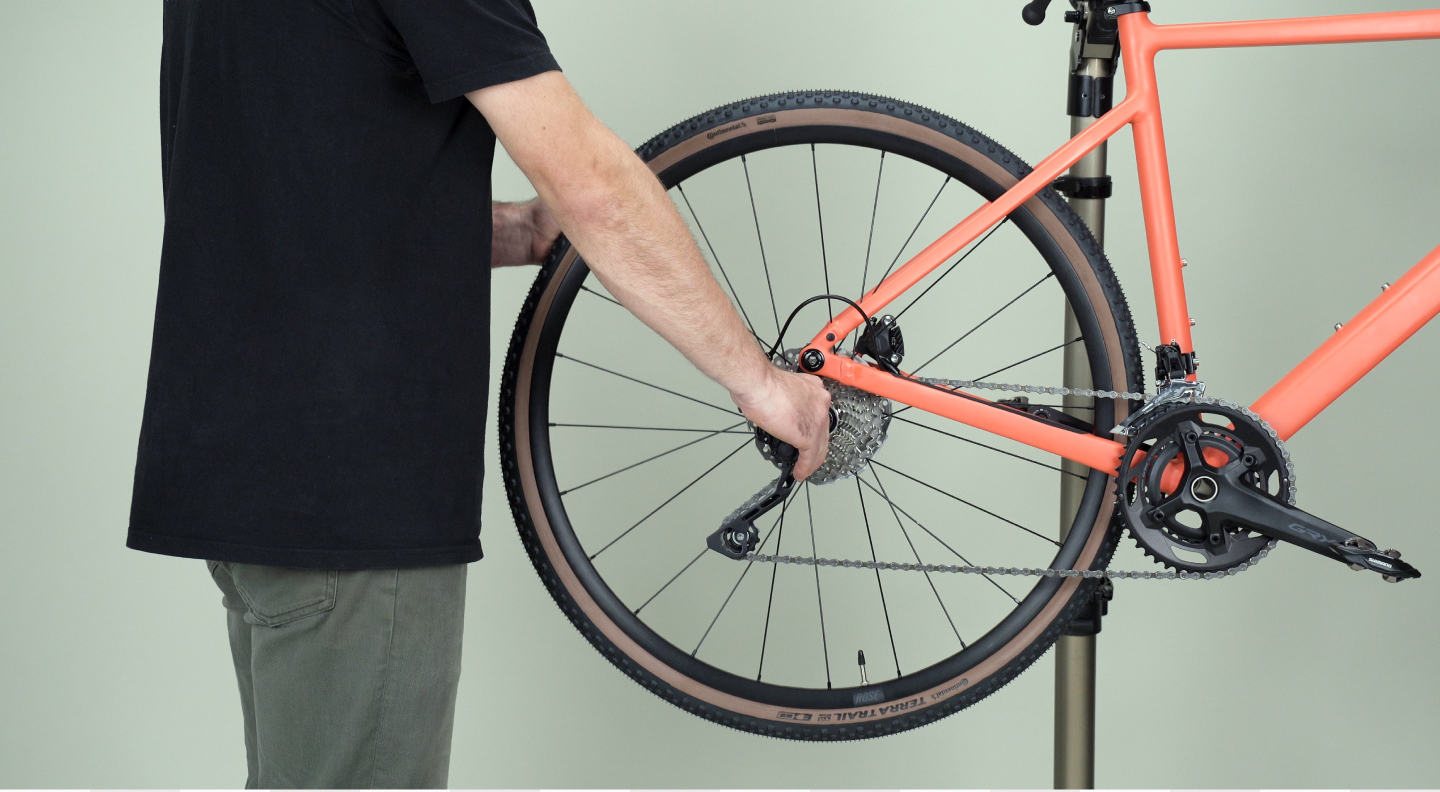
- Shift the chain to the smallest sprocket.
- Loosen and remove the thru axle with the hex wrench or – if available – the integrated thru axle lever. Hold the wheel firmly with one hand.
- Turn the rear derailleur clockwise to the rear. This allows you to remove the wheel downwards.
)
Step 2: Removing the tyre
- Unscrew the valve cap, open the valve and let the air out of the tyre.
- Press the tyre sidewalls together on both sides until the tyre sits loosely in the rim base all around.
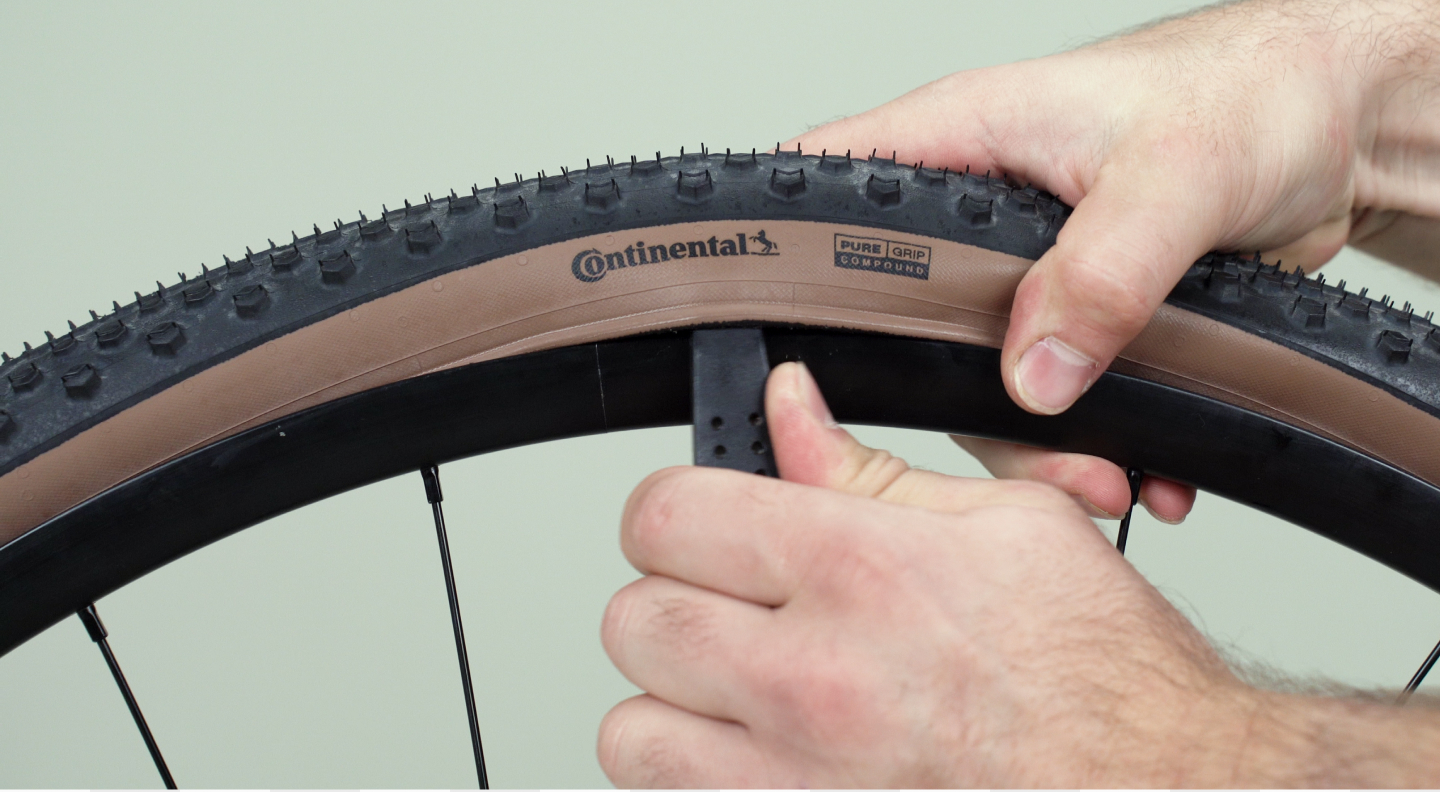
- Place the tyre lever on one side of the tyre and lift it over the rim. The tyre can now be released along the rim by pulling it. A second tyre lever, offset by about 10 cm, helps in case of a tight fit.
- Before you remove the tyre completely, unscrew the valve nut from the valve and then remove the inner tube from the tyre.
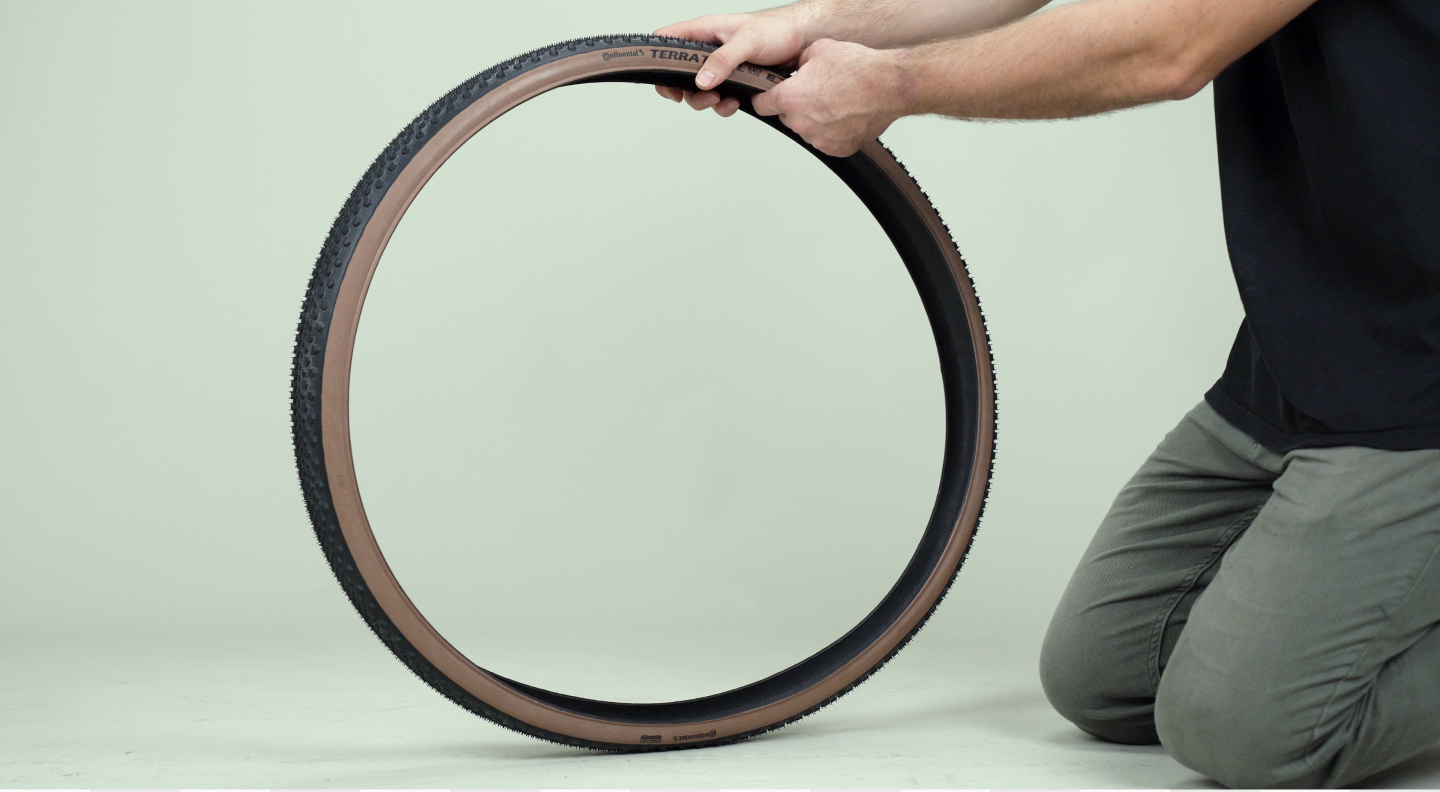
- Then pull the tyre off the rim.
)
Step 3:
- After a puncture, carefully inspect the tyre by hand for damage or foreign objects such as thorns or glass splinters.
- Now also inspect the inside of the rim as described above.
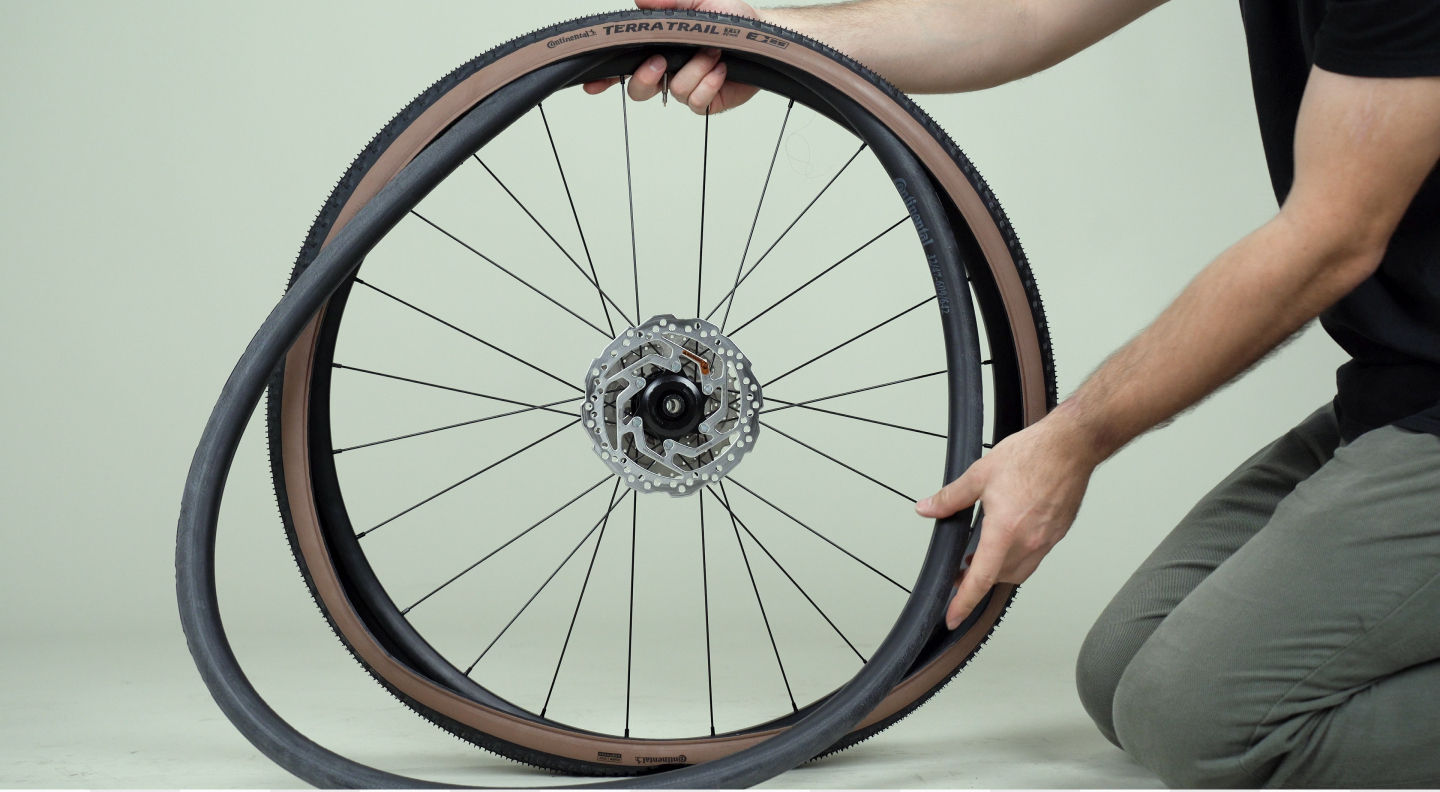
- Finally, take a look at the inner tube. You can repair a punctured inner tube with a repair kit or replace it with a new one. If the inner tube has cracks, it should generally be replaced.
)
Step 4: Fitting the tyre
- Place one side of the tyre in the rim well. Pay attention to the direction of travel.
- Inflate the inner tube a bit to bring it into shape.
- Insert the valve through the rim hole and place the inner tube between the tyre and the the rim base all around.
- Now lift the outer tyre side – starting at valve – over the rim. Work your way upwards on both sides, taking care not to pinch the inner tube. A tyre lever can be helpful for the last section.
- Screw the valve nut back on and inflate the tyre completely. Observe the air pressure specifications on the tyre sidewall.
- Finally, check that the tyre is positioned evenly by means of the continuous markings. It should have the same distance to the rim everywhere.
)
Step 5:
- Pull the rear derailleur back again, slowly put the wheel into the rear triangle from below and place the chain on the smallest sprocket.
- Now put the wheel in so that the brake disc is positioned in the brake calliper and the hub between the dropouts. Watch out not to touch the brake disc with your hand.
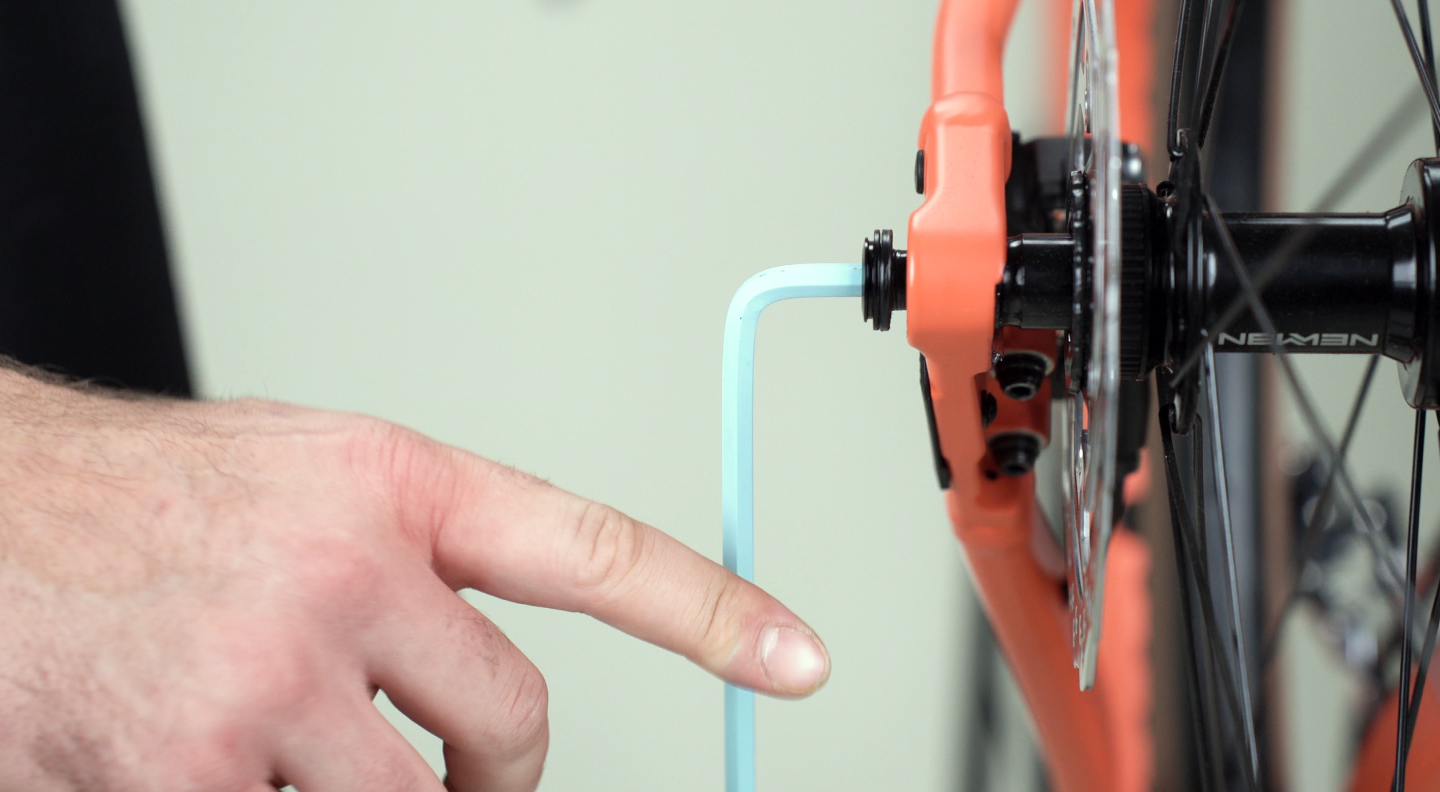
- Starting from the side of the brake disc, put the thru axle back through the wheel hub and dropouts. Then tighten it loosely.
- Now use a torque spanner to tighten it to the required torque. In the case of thru axles with an integrated lever, it can be removed for this.
Your bike is now ready for use again. Finally, you should check
hat you can still shift through all gears and that the brake does not grind.
Have fun on your next tour!
;BackgroundColor=ffffff)
;BackgroundColor=ffffff)
;BackgroundColor=ffffff)
)
)
)
)